Heater Installation
There are lots of heater design out there for 3D printers so I will not cover the assembly of the heater. In this installation, there are two heaters that will be installed. The heater configuration is to pull air in and push the heat out to be back. The heaters require 12v ate 180 Watts each, in this case, they will be connected to the PCIE rail of the PSU. The power output will be placed under the bottom of the heater cases in which a hole is drilled through the base. The wires are then connected to a PCIE connector.
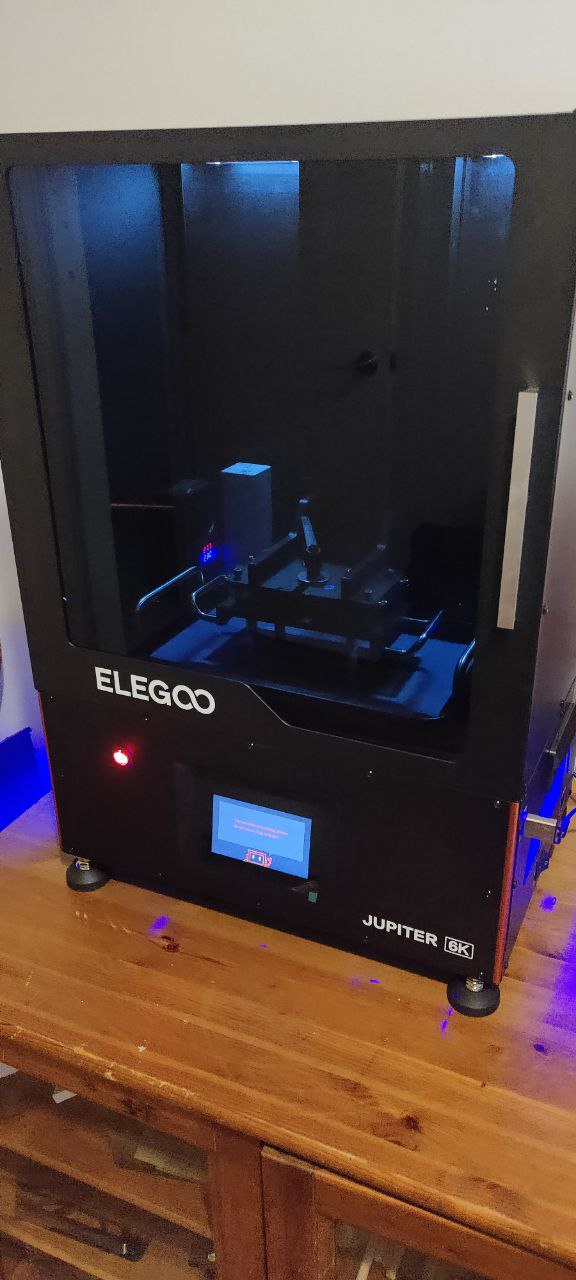
Heater Operation
The power button on the front of the printer controls the heater and any other future projects and add-on the printer will have. After observing the interiria takes ten minutes to heat up. A test print was performed and the print came out just right